Trezor Login: Complete Beginner-Friendly Guide
Learn how to securely access your Trezor wallet, protect your crypto assets, and navigate the login process from start to finish.
Understanding Trezor Login
When it comes to securing cryptocurrency, Trezor is one of the most reliable names in the hardware wallet market. The Trezor login process is intentionally designed to be highly secure, combining hardware authentication, PIN protection, and seed recovery backups. Whether you’re a beginner learning how hardware wallets work or a mid-level crypto user exploring multi-chain storage, this guide breaks it all down in a simple, approachable way.
Before diving into the login steps, it’s important to understand the basics behind Trezor’s security model—terms such as private keys, blockchain wallets, seed phrases, and cold storage. These concepts form the foundation of secure cryptocurrency management.
How Trezor Login Works
When you connect your Trezor device to your computer or smartphone, you’re not “logging in” to an online account. Instead, you’re authorizing access to your offline wallet through a physical device. This means the private keys never leave your Trezor—they remain secured within the chip, ensuring maximum protection against hackers or malware.
Key Point: Trezor login is not a typical password-based login. It’s a combination of hardware verification + PIN entry + optional passphrase encryption.
Step-by-Step: Logging In to Trezor
Step 1: Connect Your Trezor Device
Use your USB cable to connect the Trezor Model T or Trezor One to your computer or smartphone. Your device screen will prompt you to confirm connection.
Step 2: Open Trezor Suite
Launch the official Trezor Suite app. This software allows you to manage Bitcoin, Ethereum, and various ERC-20 tokens from a simple dashboard. Make sure you always download it from the official Trezor website.
Step 3: Enter Your PIN
Your Trezor PIN provides the first layer of access control. The number layout appears scrambled on Trezor Suite, but the real positions show up on the device screen. This prevents keylogging attacks.
Step 4: (Optional) Enter Your Passphrase
Advanced users often enable a passphrase—the 25th word—to create hidden wallets. This adds another strong layer of encryption to your Trezor login.
Step 5: Access Your Crypto Wallet
Once authenticated, you can now view balances, send crypto, manage assets, and track your portfolio—all without exposing private keys.
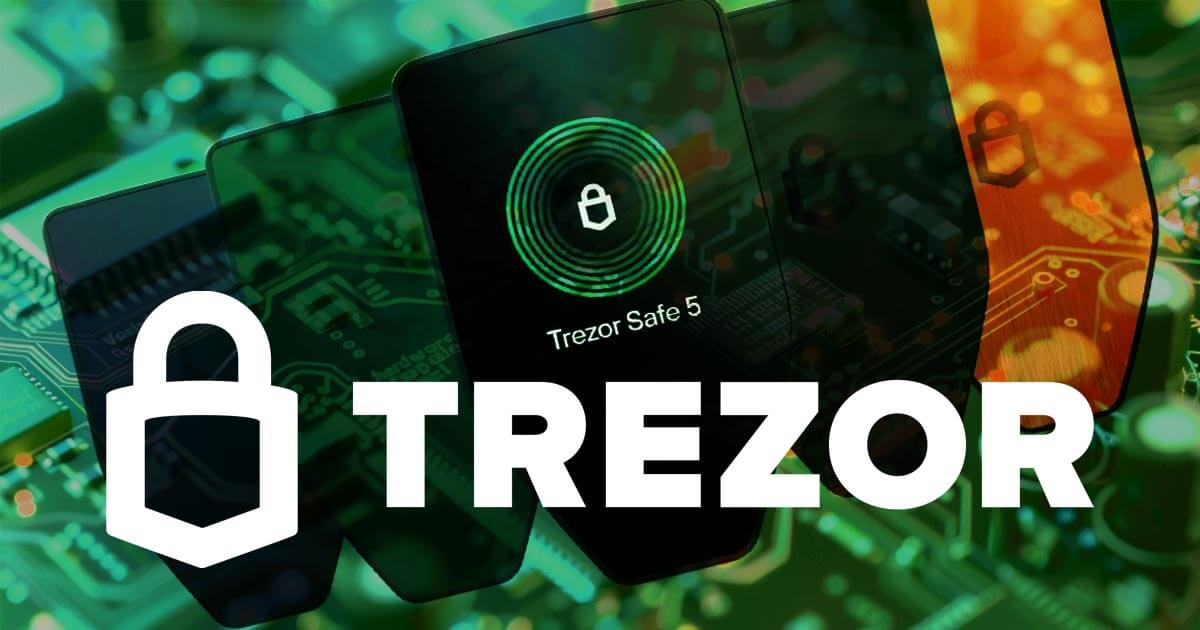
Trezor Security at a Glance
Here is another look at the secure Trezor hardware design:
Trezor Login vs Standard Crypto Wallet Login
| Feature | Trezor Login | Typical Software Wallet |
|---|---|---|
| Private Key Storage | Stored offline in hardware | Stored on phone/PC |
| Login Method | PIN + Device Verification | Password or biometrics |
| Security Level | Extremely High | Moderate |
Frequently Asked Questions
A: You can reset the device, but you’ll need your seed recovery phrase to restore your crypto wallet.
A: No. Without physical access + PIN + optional passphrase, remote hacking is nearly impossible.
A: No. You can authenticate offline. Internet is only needed for blockchain synchronization.
Final Thoughts on Trezor Login
Mastering the Trezor login process is a crucial step toward building a safer, more secure crypto management routine. Unlike traditional wallets, Trezor keeps your private keys offline—shielded from hackers, malware, and phishing attacks. Whether you're storing Bitcoin, Ethereum, or multiple altcoins, Trezor provides a trustworthy cold storage experience that puts you fully in control.
By understanding PINs, passphrases, recovery seeds, and hardware validation, you take a major step toward strengthening your crypto security. Your digital wealth deserves the highest level of protection—and the Trezor login process delivers exactly that.